2. Application Structure
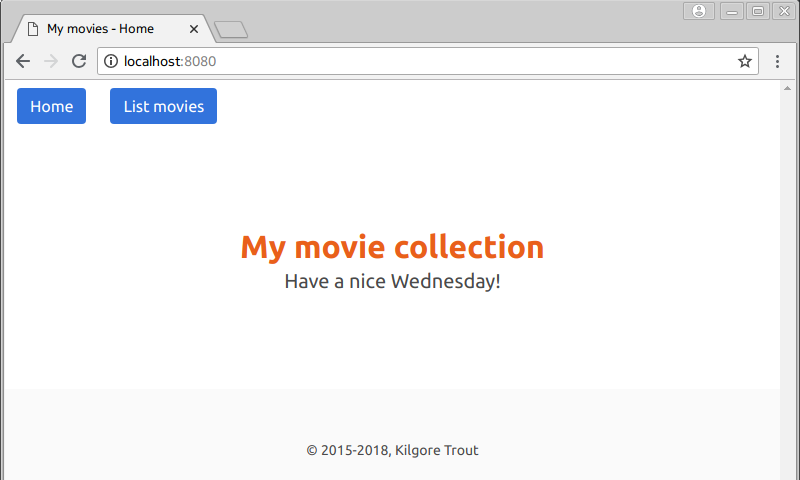
The pages in a web application share some components such as headers, footers and navigation panels. In this chapter, we’ll see how to implement such components without repeating code. We’ll create a base template that will contain the components that all pages in the application will include. See Fig. 2.1 for the screenshot of the resulting home page.
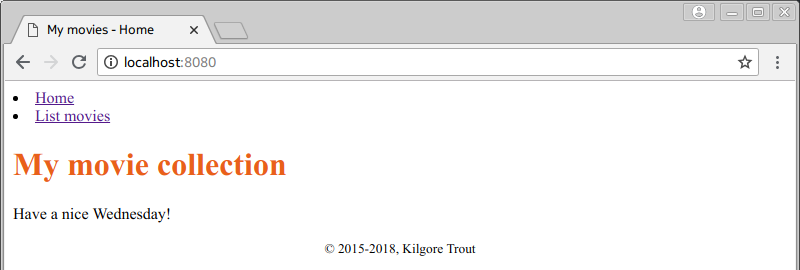
Fig. 2.1 Home page containing navigation panel and footer.
2.1. Base Templates
Manually adding shared components to multiple pages in an application is tedious and error-prone. We would prefer to write these once and let pages get them from a shared location. For instance, we want all pages to use the same footer that contains a copyright notice but we don’t want to add the footer markup to every page separately. Instead, we want to add it to a base template and derive all pages from this base template.
We’ll store our base template in the layout.html file with the contents
given in Listing 2.1.
1 2 3 4 5 6 7 8 9 10 11 12 13 14 15 | <!DOCTYPE html>
<html lang="en">
<head>
<meta charset="utf-8"/>
<title>My movies - {% block title %}{% endblock %}</title>
<link rel="stylesheet" href="/static/mymovies.css"/>
</head>
<body>
{% block content %}{% endblock %}
<footer>
<small>© 2015-2018, Kilgore Trout</small>
</footer>
</body>
</html>
|
The {% block ... %} and {% endblock %} directives in Jinja mark
the parts that will be filled in by the pages that use this base template.
Since there can be more than one such block in a template, blocks have to be
named so that they can be distinguished from each other. The name is
the identifier that follows the block keyword in the opening directive.
All remaining parts will be directly included. This means that there are two parts in this template that will be filled in by pages:
- The block named
titlemarks the page title after the common prefix (line 5). - The block named
contentmarks the page content (line 9). Note that the footer is not part of the block, so it will be included in all pages (lines 11-13).
Now the home page template will extend this base template
(Listing 2.2, line 1). The title block (line 2) will replace
the title slot in the layout, and the content block (lines between
3 and 10) will replace the content slot. When processed, this template will
give the same markup as the previous one without the base template
(Listing 1.9).
templates/home.html, version: v0201).¶1 2 3 4 5 6 7 8 9 10 | {% extends "layout.html" %}
{% block title %}Home{% endblock %}
{% block content %}
<h1>My movie collection</h1>
<p>Have a nice {{ day }}!</p>
<ul>
<li><a href="/movies">List movies</a></li>
</ul>
{% endblock %}
|
Let’s also add the following rule to the style sheet to format the footer:
footer {
text-align: center;
}
2.2. URL Generation
In our HTML markup we’ve used fixed routes when writing links to pages:
/for the home page/moviesfor the movies page/static/mymovies.cssfor the style sheet
These routes assume that all our URLs start from the base of the server URL
(http://localhost:8080). But in some cases -for example if we want to run
multiple applications on the same port- we may want our application URLs
to start from a subpath on the server, like http://localhost:8080/myapp.
So we would want our URLs to be:
http://localhost:8080/myapp/http://localhost:8080/myapp/movieshttp://localhost:8080/myapp/static/mymovies.css
But using fixed routes wouldn’t work in this case because for example
/movies would always link to http://localhost:8080/movies.
We can solve this issue using a Flask function called url_for which lets us
look up the URL of a page in the application. Routing rules consist of three
components:
- The route in the application, e.g.
/movies. - The view function that will handle the requests to this route,
e.g.
movies_page. - The name of the endpoint, which is an identifier for the route.
If not given, this will be the same as the name of the view function,
e.g.
movies_page. [1]
So for example, instead of writing the URL for the movies page as /movies,
we call the url_for function and give it the endpoint name
(movies_page) to get its URL (Listing 2.3, line 8).
1 2 3 4 5 6 7 8 9 10 | {% extends "layout.html" %}
{% block title %}Home{% endblock %}
{% block content %}
<h1>My movie collection</h1>
<p>Have a nice {{ day }}!</p>
<ul>
<li><a href="{{ url_for('movies_page') }}">List movies</a></li>
</ul>
{% endblock %}
|
For static files, we have to use the endpoint name static and give
the relative path of the requested file (Listing 2.4,
lines 6-7).
templates/layout.html, version: v0202).¶1 2 3 4 5 6 7 8 9 10 11 12 13 14 15 16 | <!DOCTYPE html>
<html lang="en">
<head>
<meta charset="utf-8"/>
<title>My movies - {% block title %}{% endblock %}</title>
<link rel="stylesheet"
href="{{ url_for('static', filename='mymovies.css') }}"/>
</head>
<body>
{% block content %}{% endblock %}
<footer>
<small>© 2015-2018, Kilgore Trout</small>
</footer>
</body>
</html>
|
Another improvement concerns the navigation. We might need links to the home page or the movie list page from many pages in the application. So, having a global navigation mechanism where all such links will be available in all pages would be a good idea.
We’ll add the navigation links as part of a header section in our base template (Listing 2.5, lines 10-17).
1 2 3 4 5 6 7 8 9 10 11 12 13 14 15 16 17 18 19 20 21 22 23 24 25 | <!DOCTYPE html>
<html lang="en">
<head>
<meta charset="utf-8"/>
<title>My movies - {% block title %}{% endblock %}</title>
<link rel="stylesheet"
href="{{ url_for('static', filename='mymovies.css') }}"/>
</head>
<body>
<header>
<nav>
<ul>
<li><a href="{{ url_for('home_page') }}">Home</a></li>
<li><a href="{{ url_for('movies_page') }}">List movies</a></li>
</ul>
</nav>
</header>
{% block content %}{% endblock %}
<footer>
<small>© 2015-2018, Kilgore Trout</small>
</footer>
</body>
</html>
|
Now the home page doesn’t need to add the navigation links anymore (Listing 2.6).
templates/home.html, version: v0203).¶1 2 3 4 5 6 7 8 9 10 11 | --- /home/uyar/Projects/flask-tutorial/app/v0202/templates/home.html
+++ /home/uyar/Projects/flask-tutorial/app/v0203/templates/home.html
@@ -3,8 +3,4 @@
{% block content %}
<h1>My movie collection</h1>
<p>Have a nice {{ day }}!</p>
-
- <ul>
- <li><a href="{{ url_for('movies_page') }}">List movies</a></li>
- </ul>
{% endblock %}
|
Exercise 1
Arrange the movie list page so that it will use the same navigation panel and footer. (Solution)
2.3. Code Structure
As the project gets larger, we will want to separate the code into multiple source files. For example, in our application, it might be a good idea to move the view functions into a separate module, as given in Listing 2.7.
1 2 3 4 5 6 7 8 9 10 11 12 13 | from datetime import datetime
from flask import render_template
def home_page():
today = datetime.today()
day_name = today.strftime("%A")
return render_template("home.html", day=day_name)
def movies_page():
return render_template("movies.html")
|
Now the question is, how do we register the routes in the application?
One way would be to import the app variable from the server.py module
and use the route decorator as before:
from server import app
@app.route("/")
def home_page():
...
@app.route("/movies")
def movies_page():
...
If you don’t like using global variables this way, you can use
the add_url_rule method of the application instance when creating
the application. It’s also a good idea to handle application creation
as a separate function instead of defining a global variable
(Listing 2.8, lines 6-12 and 16).
1 2 3 4 5 6 7 8 9 10 11 12 13 14 15 16 17 | from flask import Flask
import views
def create_app():
app = Flask(__name__)
app.add_url_rule("/", view_func=views.home_page)
app.add_url_rule("/movies", view_func=views.movies_page)
return app
if __name__ == "__main__":
app = create_app()
app.run(host="0.0.0.0", port=8080, debug=True)
|
2.4. Application Configuration
Flask application instances keep their configuration as a mapping
in an instance member named config. For example, the application can be
configured to run in debug mode using the DEBUG key (line 3), in which case
the corresponding parameter isn’t needed in the run method anymore
(line 8):
1 2 3 4 5 6 7 8 | def create_app():
app = Flask(__name__)
app.config["DEBUG"] = True
...
if __name__ == "__main__":
app = create_app()
app.run(host="0.0.0.0", port=8080)
|
You can also add your own settings to this mapping. For example, you can make the port number a configuration setting (line 4), get its value or an optional default (line 9) and use it (line 10):
1 2 3 4 5 6 7 8 9 10 | def create_app():
app = Flask(__name__)
app.config["DEBUG"] = True
app.config["PORT"] = 8080
...
if __name__ == "__main__":
app = create_app()
port = app.config.get("PORT", 5000)
app.run(host="0.0.0.0", port=port)
|
It’s common practice to keep the configuration in a separate file. Flask
allows you to load the configuration from a Python source file. For example,
let us create a settings.py file (Listing 2.9)
and put these settings into it:
1 2 | DEBUG = True
PORT = 8080
|
Now use this file to configure the application (Listing 2.10, line 8):
1 2 3 4 5 6 7 8 9 10 11 12 13 14 15 16 17 18 19 | from flask import Flask
import views
def create_app():
app = Flask(__name__)
app.config.from_object("settings")
app.add_url_rule("/", view_func=views.home_page)
app.add_url_rule("/movies", view_func=views.movies_page)
return app
if __name__ == "__main__":
app = create_app()
port = app.config.get("PORT", 5000)
app.run(host="0.0.0.0", port=port)
|
| [1] | When using the @app.route("/movies", endpoint="movies_endpoint")
def movies_page():
...
|